Category: Product

Creating New Jewelry From Old

Ever wonder how a master jeweler takes your old jewelry and creates something completely new out of it?  Recently I had the opportunity to photograph the process from start to finish for Izzy Israeli, the owner of Atlanta Diamond Design.

Izzy explained to me that in the custom jewelry business it’s sometimes advantageous to show the process used to create piece of jewelry. This helps the client understand the process they are entering and that they are paying for the precious metal, stones and the time and expertise of the designer as well.

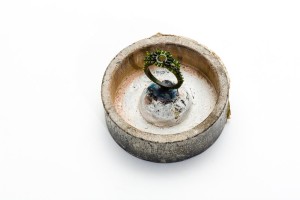
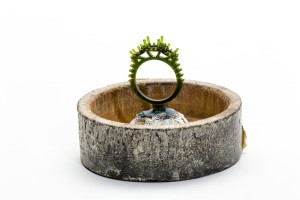
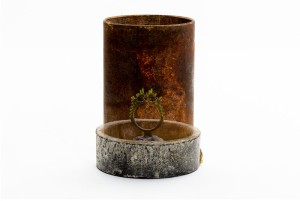
The first step in the process is to create a CAD drawing of the piece.  Once approved, a wax model is created that is used to create the mold.  These images show that wax model and the total mold of the ring seen through the magic of Photoshop.

Wax Cast 1

Wax Replica

Wax Cast 2

Alternate view

Mold showing wax replica used in making final casting

Mold showing wax replica used in making final casting

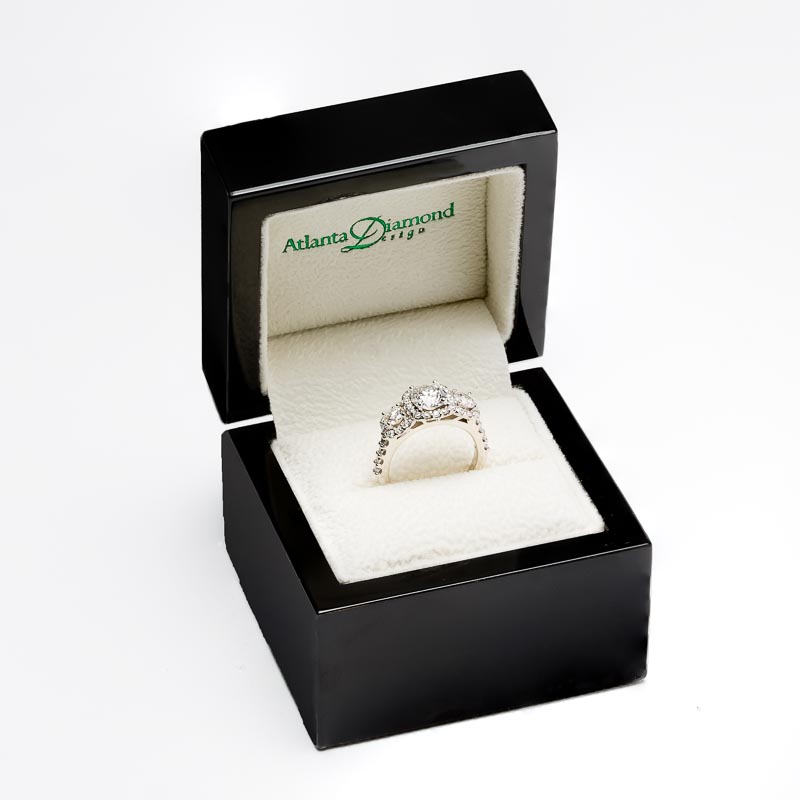
Then a rubber compound is poured in around the wax model to create a final mold into which the molten silver is poured to cast the actual ring.  Once the casting was done, the ring is polished and the jewels are set.  Only then could I create the final images of the diamond ring.

Final Ring

Once the CAD design was approved, the process took a bit over 3 weeks from start to finish.  I’ve known Izzy for a few years now and he really does create very fine jewelry designs.  It was a pleasure creating these images for him!

An HDR Image for the Client

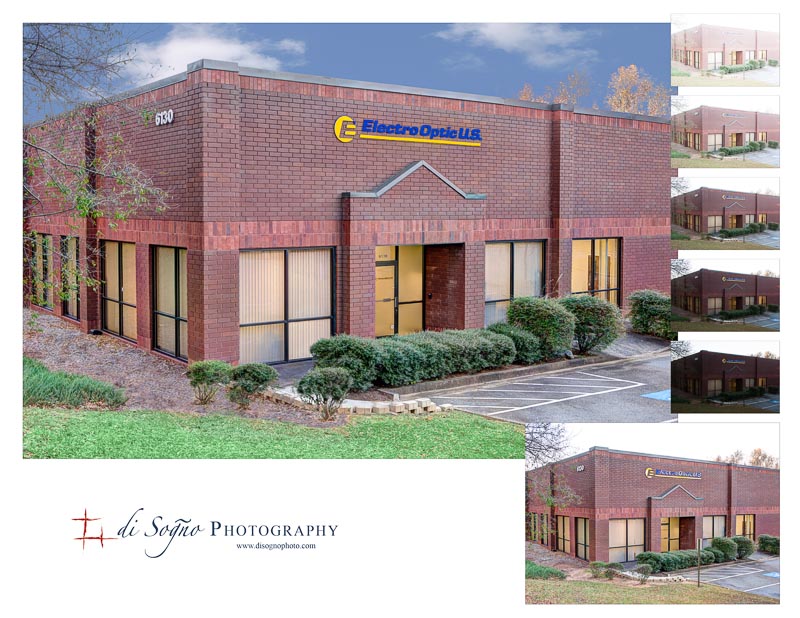
I’m in the middle of a project for Electro-Optic US, a die-cutting manufacturing company based in Alpharetta, GA.  One piece of this project is to create a exterior image of the US headquarters of the company.  Sounds easy right?  Not necessarily so.  Creating an exterior image of a building takes more work than you may think.

The entrance to Electro-Optic US is on the north elevation and because the sun is so far south at this time of year, there would be very dark shadows on that side of the building.  No matter what time of day the shot would be taken, if the sun was above the horizon, the dynamic range of the image (that’s the difference between the brightest part of the image compared to the darkest part of the image) would be too large to correct in post-processing.  And since Markus, the president of Electro-Optic US, wanted the focus to be on the building and not any cars that may be in the parking lot, I created the images below when they were closed and during that 20-30 minutes between dawn and sunrise when daylight first appears early on a Saturday morning.

Creating an Image

I captured the five small images on the right side of the image above just after dawn using five different exposures to capture the brights of the lights, the darks of the shadows and everything in between. You can see them better by clicking on the image to enlarge it in your browser.  I then merged them together in software to create the High Dynamic Range (HDR) image in the lower right of frame.

This created a very workable image but there were things that needed to be fixed before I would call it a finished image, ready for delivery to the client.  For instance the dull sky needed to be replaced and distractions like the signpost removed, the brown grass made to look greener, replacing missing pine straw around the bushes and straightening the crooked window shades all needed to be fixed.  There was even some foliage added to the three bushes at the front so they would look healthier.  That’s an image I’m proud to present to a client.

If you are or if you know a business owner who wants their building to be seen in the best light, even if the images were taken before the sun came up, tell then you know someone who can create that image, point them to this post and introduce us in an email or over coffee.  Thanks for visiting the blog, and remember, I don’t just take pictures, I create images.

Peruvian Sweaters and Caps

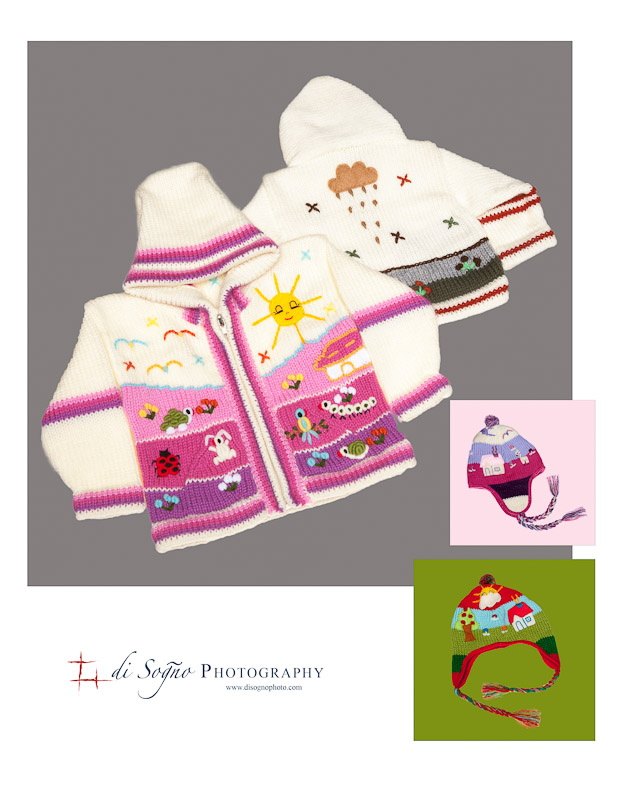
During the last week in July, I again found myself  doing product shots for children’s clothing and/or accessories.  The company for which I was shooting this time, Chirimoya, is still in start-up mode, and Charlie, the owner, recognized the need for professional images when he couldn’t create images that matched the quality level the products he wants to sell.

The products, hand made sweaters and caps are imported from small villages in the mountains of Peru.  Hand knitted and embroidered with landscapes of flowers, lambs, and alpacas, ensures that each item is unique and I can tell you the quality of these items is exceptional.  During the shoot, I had to keep an eye on the samples because everyone who saw them tried to take a sample home with them.  Including me, because I have a new cousin being added to the family in a couple of months and one of these would make a great gift!

My other task, besides looking out for the samples, was to create images that could have the backgrounds in different colors sampled from the items themselves and then to have the backgrounds easily changed out if so desired.  I used a technique where I place the item on plexiglass and then lit the background and items separately so there are no shadows on the final image.  This makes it extremely easy to cut the item out of the background and place it on its own Photoshop layer.  The image below is composite of the results I achieved for Charlie and Chirimoya.

So if you know of someone who has children in the 0-4 year old range and you could use a very unique gift for the holidays, check back here every so often.  I’ll post a link to the website when it goes active you can see more and maybe order a few items.

Large Product Shoot

A corporate client of mine, Metcam, Inc. a metal fabricating company, has started fabricating pedestals for Steelcase tables and chairs and Bruce Hagenau, Metcam’s president, wanted to distribute press releases and newsletters announcing their new contract with Steelcase.  Remembering that I shot his Tyco Supplier Excellence award a couple of years ago, see below, he contacted me to create the images of the new office furniture.

With the deadline to get information to the printer just a week away, he asked if I could do the shoot in the next day or two.  Luckily I was able to fit that in to my schedule and when I arrived onsite, I spent a few hours straightening up the desks prior to creating the images.  After all, you don’t want to have a messy desk when you’re showing off the furniture!

Here are a few of the 12 fully edited images I delivered two days later so he could beat his deadline and get the information to the printer for release.

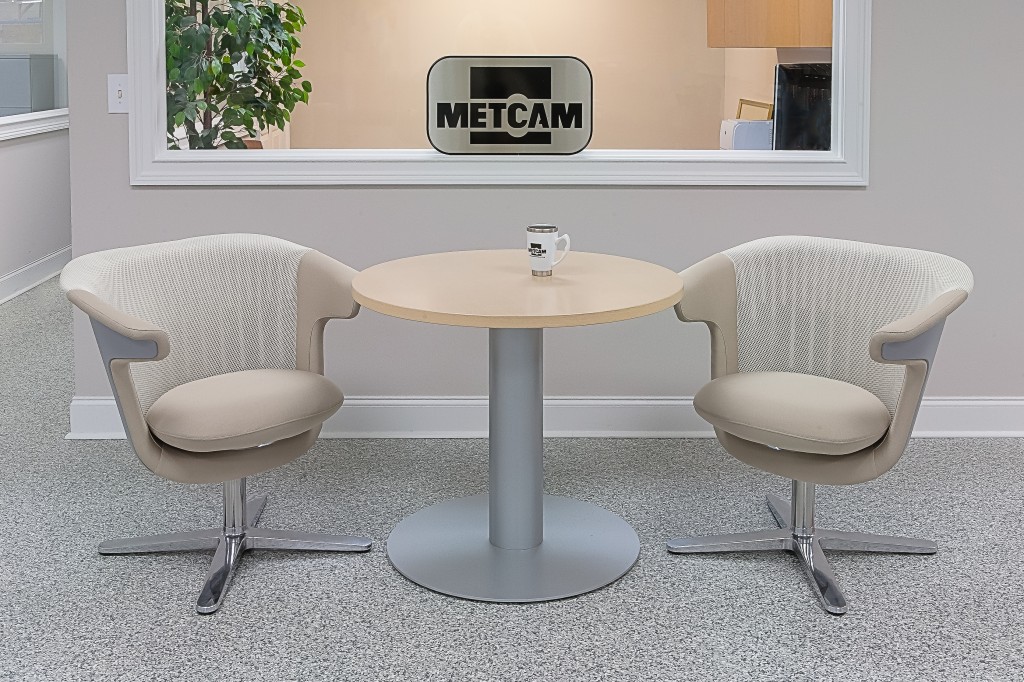
Steelcase Pedestal Table and Chairs

The image above shows the table and chair pedestals that Metcam is now fabricating for Steelcase Furniture.

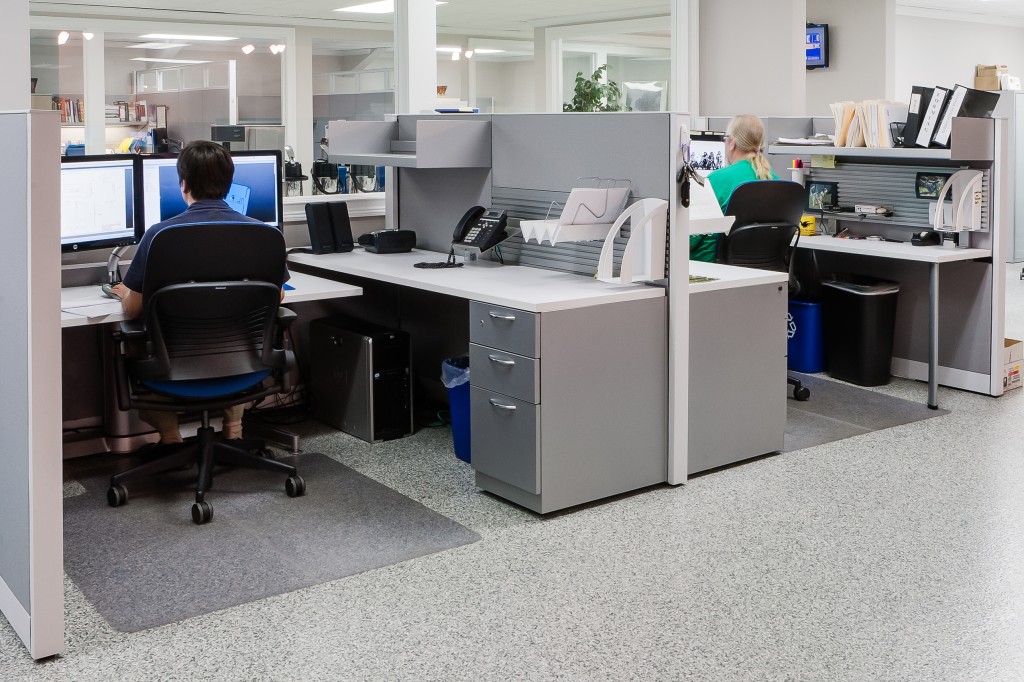
Steelcase Cubicle Desks

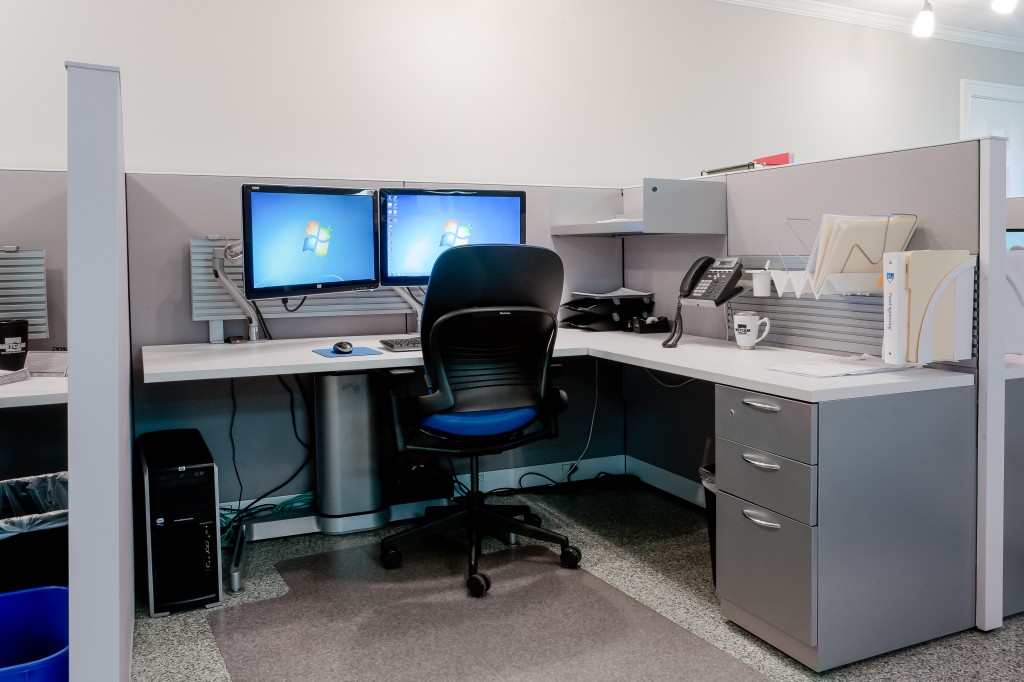
These cubicle desks allow the employee to stand and work.  The desk section elevates and Steelcase has supplied soft foam mats for the employees to stand on to prevent foot and leg fatigue.

Steelcase Standard Cubicle Desk

I enjoy working with manufacturers like Bruce who are excited about their company and want show the world what they produce.  They’ll want to talk to me because I’ll work closely with them to create the images they’re visualizing and deliver them in time to beat a deadline.

Contact us

di Sogno Photography
e: info@disognophoto.com